Electric motor brushes play a crucial role in the functioning of electric motors. These small but essential components facilitate the transfer of electrical current between the stationary and rotating parts of the motor. In this article, we’ll delve into what electric motor brushes are, their significance, and even guide you on making your own electric motor brushes.
What is Electric Motor Brush?
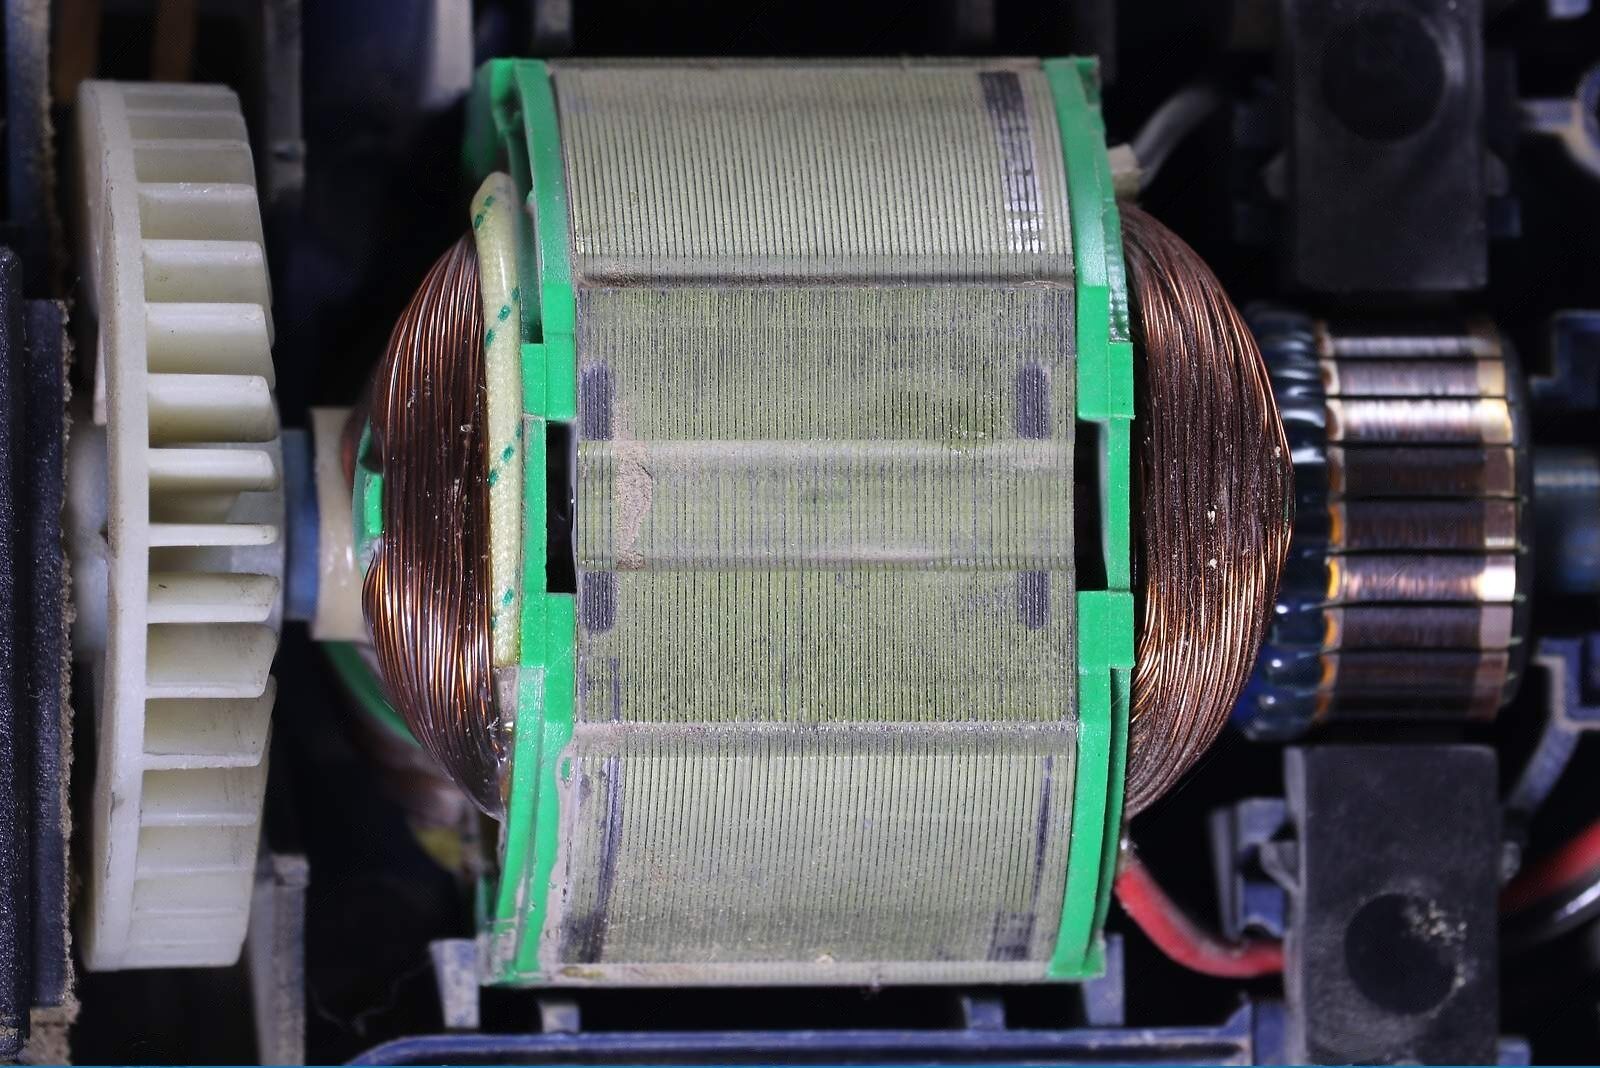
Electric motor brushes are conductive components made of carbon or graphite that maintain electrical contact with the commutator or slip rings of the motor. They are responsible for transferring electrical current from the power source to the rotating part of the motor, allowing it to generate rotational motion.
The Importance of Electric Motor Brushes
The brushes serve as an interface between the stationary and rotating parts of the electric motor. They ensure a continuous flow of current, enabling efficient motor operation. Key benefits and functions of electric motor brushes include:

- Conductivity: Brushes are designed to provide low-resistance electrical contact, minimizing energy losses and maximizing motor efficiency.
- Wear Resistance: Brushes are engineered to withstand the friction and heat generated during motor operation, ensuring long-lasting performance.
- Commutation: By maintaining contact with the commutator, brushes facilitate the proper switching of current direction in DC motors, enabling smooth rotation.
Making Your Own Electric Motor Brushes
If you’re interested in experimenting or replacing worn-out brushes, making your own can be a viable option. Here’s a simple step-by-step guide:
- Gather Materials: You’ll need high-quality carbon or graphite rods, a suitable insulating material, a small drill, and a file.
- Measure and Cut: Measure the dimensions of the original brushes or consult the motor’s specifications. Cut the carbon or graphite rods to the desired length using a saw.
- Shape the Brushes: Use a file to shape the ends of the rods to match the contour of the commutator or slip rings. This ensures proper contact and reduces friction.
- Drilling and Insulation: Drill a small hole in the center of each brush and insert an insulating material, such as nylon or plastic. This prevents electrical short circuits.
- Testing and Installation: Before installing the brushes, test their conductivity with a multimeter. Once verified, carefully insert the brushes into their designated slots in the motor, ensuring proper alignment.
Conclusion:
Electric motor brushes are indispensable components that enable the smooth operation of electric motors. Understanding their purpose and functionality can help you appreciate their role in various applications. If the need arises, making your own electric motor brushes can be a rewarding DIY project. Remember to exercise caution and follow safety guidelines when working with electrical components.
By following these guidelines, you can gain a deeper understanding of electric motor brushes and even create your own if necessary.